MySQL is one of the most widely-used relational database management systems, and it’s often a key part of many web applications. Whether you're working on a LAMP stack (Linux, Apache, MySQL, PHP) or another stack, knowing how to create users and manage their permissions in MySQL is an essential skill. In this guide, we’ll walk you through the process of creating a new MySQL user and granting them permissions, using simple steps and code examples you can easily copy and paste.
Before we get started, you need access to a MySQL server. This tutorial assumes you’re working with MySQL on a server running Ubuntu 20.04, but the steps will work similarly on other Linux distributions or even managed cloud MySQL databases.
-
Accessing MySQL
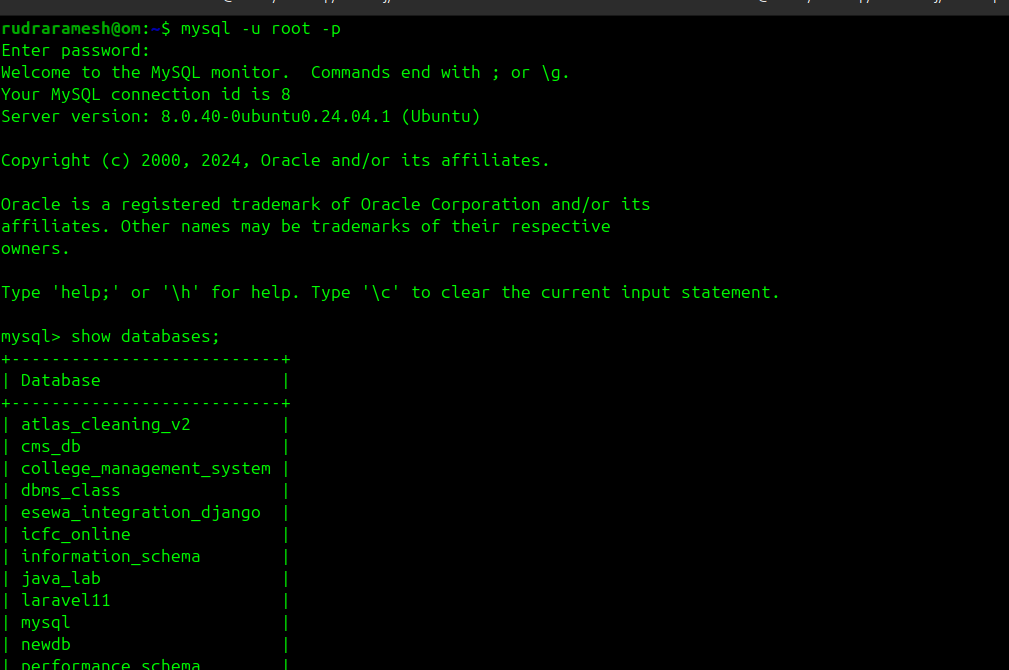
To manage users in MySQL, you’ll first need to log into MySQL as the root user or an administrator.
On Ubuntu, MySQL is configured by default to authenticate the root user using the auth_socket plugin, which means you'll have to invoke MySQL with sudo if you’re logged in as the root user on your Ubuntu system.
sudo mysql
If your root user is set to use a password (instead of the auth_socket plugin), you can log in with:
mysql -u root -p
You’ll be prompted to enter your MySQL root password.
-
Creating a New User
Once you're inside the MySQL shell, you can create a new user. The syntax to create a user is:
CREATE USER 'username'@'host' IDENTIFIED BY 'password';
Here’s an example of how to create a new user called rudra that can connect from the local server (localhost) and uses password123 as the password:
CREATE USER 'rudra'@'localhost' IDENTIFIED BY 'password123';
If you want the user to connect from any IP address (i.e., remotely), you can use % instead of localhost:
CREATE USER 'rudra'@'% IDENTIFIED BY 'password123';
-
Granting Permissions
Once the user is created, the next step is to grant the necessary permissions. The general syntax for granting permissions in MySQL is:
GRANT PRIVILEGE ON database.table TO 'username'@'host';
For example, to grant the rudra user full access to all databases on the server, you can use:
GRANT ALL PRIVILEGES ON *.* TO 'rudra'@'localhost' WITH GRANT OPTION;
In above example:
*.* means all databases and all tables.
WITH GRANT OPTION allows rudra to grant the same privileges to other users.
If you only want to grant specific permissions, you can list them. For instance, to allow the user to SELECT data from any table but not modify it, you would use:
GRANT SELECT ON *.* TO 'rudra'@'localhost';
You can also combine multiple privileges into one statement. For example, granting the ability to SELECT, INSERT, and UPDATE data:
GRANT SELECT, INSERT, UPDATE ON *.* TO 'rudra'@'localhost';
-
Applying Changes
In MySQL, changes to user privileges are usually applied immediately, but it’s still a good practice to run the FLUSH PRIVILEGES command to ensure all permissions are properly loaded:
FLUSH PRIVILEGES;
-
Verifying the Permissions
You can verify the permissions granted to a user by running:
SHOW GRANTS FOR 'rudra'@'localhost';
This will show you a list of all the privileges the rudra user has.
-
Revoking Permissions (if needed)
If you need to revoke any of the permissions you've granted, you can use the REVOKE command. The syntax is similar to the GRANT command, but with FROM instead of TO:
REVOKE SELECT ON *.* FROM 'rudra'@'localhost';
This command will remove the SELECT permission from the rudra user.
-
Deleting a User
If you no longer need the user, you can delete them using the DROP USER command:
DROP USER 'rudra'@'localhost';
This will completely remove the user from MySQL.
-
Exiting MySQL
Once you're done creating the user and granting permissions, you can exit the MySQL shell by typing:
EXIT;
Conclusion:
By following the steps above, you've learned how to create a new user, grant specific permissions, and manage user access in MySQL. Whether you're working on a web application or just need to create additional users for different tasks, these steps are essential for maintaining security and control over your MySQL server.
If you need to review a user’s current permissions or revoke access, MySQL makes it easy to manage user accounts and keep your database secure. Keep in mind that it’s best to grant users only the permissions they need to minimize security risks.
NOTE:-The YouTube video is coming soon!


Leave a Comment